

You spent two hours on a Halloween display. You followed a Pinterest tutorial. And it still looked like a craft table at a school fair.
That is not a taste problem. It is a technique problem — and there are exactly 13 of them. Most diy halloween decor ideas roundups repeat the same five pins everyone else has already saved: a store-bought wreath, a plastic skeleton, a bag of fake cobwebs. This one works differently: six specific tells that make DIY Halloween decor read as cheap, and twelve real projects — materials, steps, no vague advice — that fix each one. By the end, you'll know exactly which mistake you were making and exactly how to stop making it. For the complete picture, explore our full guide: Halloween Decor Ideas: 20 Spooky Stylish Designs That Elevate Every Room.
Tell #1: The Shiny Plastic Finish That Makes DIY Decor Look Cheap
Factory gloss on dollar-store skulls and bones is the single fastest way to undercut an otherwise thoughtful display. That high-shine finish catches light in a flat, plastic way. It signals "bargain bin" regardless of how everything else is styled.
The fix is not buying better materials. It is changing the surface finish with tools you already own.
DIY Halloween Chandelier Made From Faux Bones

Materials: One wire embroidery hoop (12-inch), 20–30 faux plastic bones (dollar store), matte black or bone-white spray paint ($4–$6 a can), fishing line, hot glue gun. You'll find even more ideas in Dark Halloween Aesthetic: 14 Moody Elevated Designs That Are Scary Chic.
Steps: 1. Lay all bones flat and spray with a full matte coat. Let dry completely — at least 30 minutes. 2. Dry-brush a slightly lighter or darker tone across the edges using a nearly dry brush. This fakes age and depth. 3. Cut fishing line in lengths between 6 and 14 inches — deliberately uneven, not matched. 4. Hot-glue one end of each line to a bone, then knot the other end onto the hoop at irregular intervals. 5. Attach three equal-length lines to the hoop at evenly spaced points and knot together above for hanging.
The key insight: Matte finish plus uneven hang length is what separates a craft-fair project from something that looks considered and intentional. The dollar-store bones are fine — the factory gloss is the only thing that needed fixing.
DIY Aged Skull Bookend Display

Materials: Two matching plastic or resin skulls (dollar store), matte bone or off-white spray paint, fine-grit sandpaper, dark furniture wax or brown shoe polish, a small stiff-bristle brush, a soft cloth.
Steps: 1. Sand down any obvious raised seams or mold lines on the skulls so the surface reads as one continuous piece. 2. Apply a full matte coat of bone or off-white spray paint. Let it cure completely before handling. 3. Load a small amount of dark wax or shoe polish onto the brush and work it into the eye sockets, teeth grooves, and any carved texture — this is where age naturally collects. 4. Buff the raised, flat surfaces with a clean cloth to lift excess pigment, leaving color only in the recessed detail. 5. Use the pair as bookends flanking a stack of books on a shelf or console, angled slightly inward rather than facing straight out.
Wax settling into the recessed detail — not an even coat across the whole surface — is what turns a $3 dollar-store skull into something that reads as found rather than molded. These DIY halloween crafts use materials you likely already have in a junk drawer or garage.
Price history tracked · tap to check current price on Amazon
 ✦ All-time low
 100Pcs Bats Halloween Decorations
Price history · 16 weeks
 ✦ Editor's pick
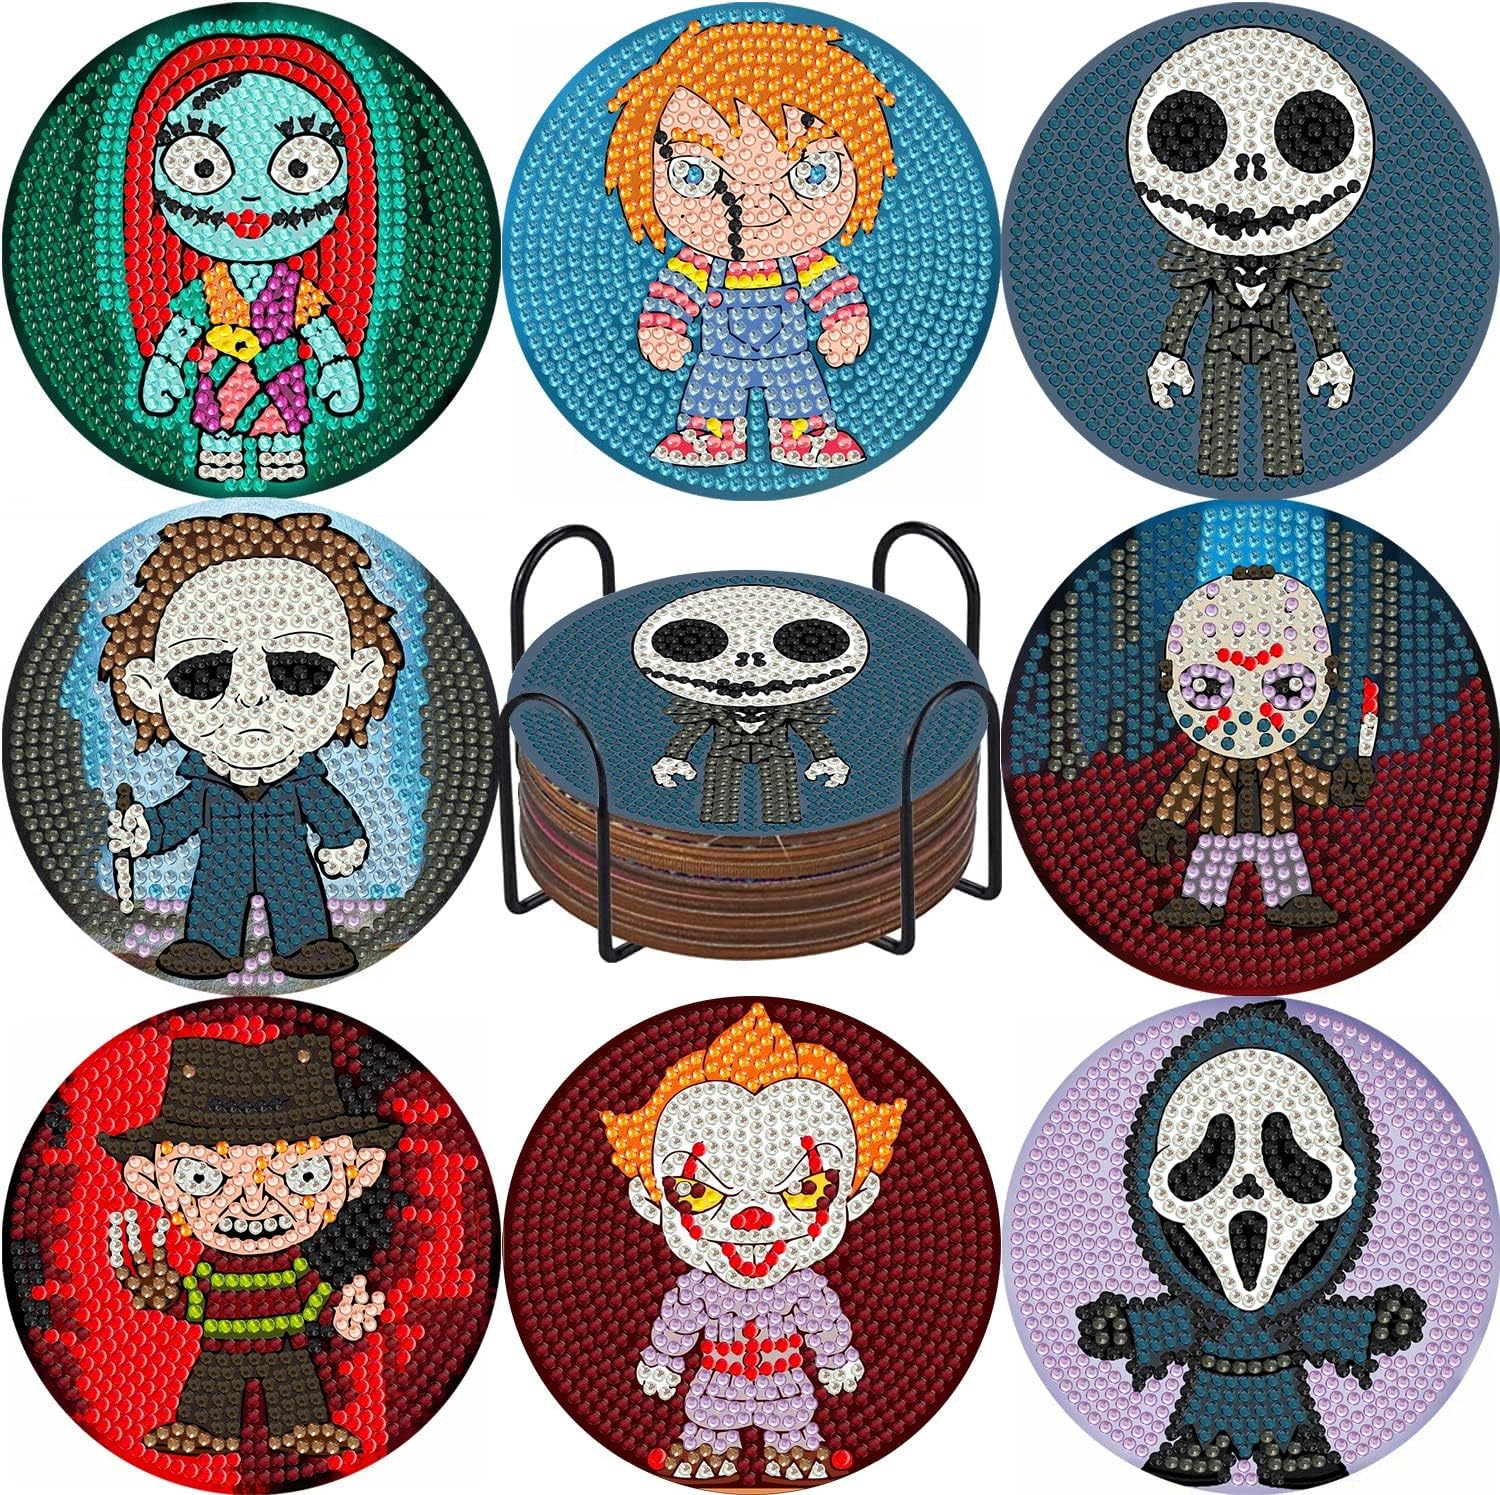
 8Pcs Diamond Painting Coasters with Holder
Price history · 16 weeks
 ↑ Price rising
 Ghost Framed Wall Art Set
↑ At peak — price may drop
Price history · 16 weeks
Tell #2: The Orange-Purple-Green Rainbow That Fights Itself
Most DIY Halloween decorations lean on all the seasonal colors at once. Orange pumpkins next to purple garlands next to green slime accents next to a string of multicolor lights. Every element competes for attention. Nothing reads as deliberate, because nothing was asked to sit quietly next to anything else.
Choosing one tone family and staying inside it makes every individual piece look more considered — even when the pieces themselves are simple.
Monochrome Ghost Garland: A DIY Halloween Garland With No Printed Faces

Materials: One meter of cheesecloth or white cotton fabric scraps, natural twine (2–3 meters), black embroidery thread, small wooden beads (one per ghost, roughly 1 inch diameter).
Steps: 1. Cut cheesecloth into roughly 10-inch squares. Fray the edges slightly by pulling threads. 2. Place a wooden bead at the center of each square. Pinch fabric around the bead and tie with twine to form a ghost head. 3. Stitch two small black stitches below the tied point for eyes. No printed faces, no felt cutouts. 4. Make ghosts in two or three different sizes by adjusting the fabric square size. 5. Knot each ghost onto a single length of twine, spacing them unevenly — 4 inches, then 7 inches, then 5 inches.
The stitched eyes are the detail that makes this DIY Halloween garland look handmade in the good sense — individual, not mass-produced. Hang against a white or off-white wall to keep the monochrome effect clean.
Tonal Pumpkin and DIY Halloween Candle Holders Centerpiece

Materials: Five to seven mini pumpkins (real or faux), matte spray paint in one tone — rust, charcoal, or bone, taper candles matched to the paint color, three candle holders of different heights, a wood or ceramic serving tray.
Steps: 1. Spray all pumpkins in the same color family. Vary only the sheen — some full matte, some with a light second pass for slight variation. 2. Arrange candle holders down the center of the tray at staggered heights. 3. Tuck pumpkins around and between the holders. Cluster tightly rather than spacing them evenly. 4. Use candles that match the tray's tone within two shades. An ivory candle on a charcoal tray works. A bright orange one does not. 5. Leave the surrounding table surface bare. No placemats, no runners.
This approach turns a simple tray into a cohesive DIY Halloween centerpiece without buying anything specialized.
Tell #3: Mismatched Materials That Clash in Texture and Finish
Plastic skulls next to paper bats next to fabric cobwebs. Each one might be fine on its own. Together, they pull against each other because the textures have no shared quality.
Choosing materials from the same texture family — all organic, all fabric, all raw — makes a display feel designed rather than assembled.
DIY Woven Branch and Raffia Wall Hanging

Materials: Five to six bare branches (foraged, roughly matching length), natural raffia or jute twine, dried florals or pampas grass stems, scissors.
Steps: 1. Lay the branches side by side and bind them together near the top using raffia in a simple over-under weave, leaving about 2 inches of loose fringe above the binding. 2. Fan the branches out slightly at the bottom so the shape reads as a loose triangle rather than a straight bundle. 3. Tie in two or three small clusters of dried florals or pampas at different heights along the woven section. 4. Trim the raffia fringe at the top into an uneven, feathered edge instead of a clean straight cut. 5. Hang from a single nail or hook using a loop of jute at the back.
Keeping every material in the same natural-fiber family — branch, raffia, dried stem — is what makes a wall hanging read as one cohesive piece instead of three separate craft projects stapled together. The same natural-material logic scales up outdoors too — for exterior-specific projects, see Outdoor Halloween Decorations: 16 Front Yard and Garden Designs That Transform Your Whole Property.
Fabric-Wrapped DIY Halloween Candle Holders With Linen and Twine

Materials: Three plain glass or metal candle holders (varying heights), black linen or burlap cut into 2-inch-wide strips, hot glue gun, natural twine.
Steps: 1. Cut a strip of linen long enough to wrap around the candle holder twice. 2. Apply a thin line of hot glue along the holder's base and press the fabric strip down firmly. 3. Wrap upward in a tight spiral. Glue the end flush — no overlap bulk. 4. Wrap a single length of twine around the middle once. Knot at the back, not the front. 5. Repeat across all holders using the same fabric. No variation in material between holders.
The single twine wrap does the same visual job as a bow — but without the craft-store association. These DIY Halloween candle holders cost under $5 each to make with plain holders from a dollar store.
Tell #4: The Too-Neat, Too-Symmetrical Store-Display Look
When every tombstone is the same height, every candle is equally spaced, and every element faces forward — it looks shipped in a kit. Symmetry signals manufactured, mass-produced, uniform. Asymmetry signals made by hand, one piece at a time.
Intentional irregularity is a skill, and it's the opposite of careless. It does not mean messy. It means nothing is exactly mirrored, nothing is perfectly centered, and no two elements are identical twins.
Asymmetrical DIY Halloween Graveyard Vignette From Foam Board

Materials: One sheet of A2 or larger foam board, gray spray paint (two tones: mid-gray and light gray), black paint pen or stencil, dried moss, small wooden stakes or skewers, craft knife.
Steps: 1. Cut three to five tombstone shapes. Make each one a different width and height — no two should match. 2. Spray all tombstones with the mid-gray coat first. Let dry fully. 3. Dry-brush the lighter gray over raised edges and corners only. This creates a worn stone effect. 4. Letter each tombstone with a paint pen. Use uneven pressure so the lines look worn, not crisp. 5. Push stakes into the base of each tombstone. Cluster them off-center, tilting two or three at slight angles. 6. Press dried moss around the bases to anchor and add texture.
Tilting two of the five tombstones by just 5–10 degrees is all it takes to make this DIY Halloween graveyard look planted rather than placed.
Hand-Painted DIY Halloween Canvas With Off-Center Eyeball Art

Materials: One plain stretched canvas (8×10 or 10×10 inch), black and off-white acrylic paint, one fine detail brush, one flat brush.
Steps: 1. Paint the entire canvas background in black using the flat brush. Two coats. Let dry. 2. Mix a small amount of off-white paint and loosely sketch one large eye shape off-center. 3. Paint the iris in a single tone — deep amber or gray-green only. 4. Add a small off-white highlight dot inside the iris, slightly off-center. 5. If adding more than one eye, place a second smaller eye to one side, not directly below or symmetrically placed. 6. Lean the finished canvas against a shelf or mantel at a slight angle rather than hanging it level.
One off-center focal point does more for this DIY Halloween canvas than a symmetrical, centered design ever could — it's the same restraint that separates gallery art from mass-produced decor. It costs under $6 in materials.
Tell #5: Flat Overhead Lighting That Kills Every Mood You Built
Overhead lighting is the enemy of Halloween atmosphere. It flattens shadow. It removes depth. No amount of good decor survives harsh overhead fluorescent or LED light pointed straight down.
The fix is layered light placed below eye level or behind surfaces — not in front of them.
DIY Halloween Backdrop With Layered Silhouette Panels and Backlit String Lights

Materials: Three sheets of black craft paper (A1 or larger), silhouette cutouts (bats, bare branches, a witch profile), one set of warm-white string lights, spray adhesive or tape tabs.
Steps: 1. Fix the first black paper sheet flat against the wall using tape tabs. 2. Fix the second sheet 2–3 inches in front of the first using folded card spacers behind it. 3. Adhere silhouette cutouts to the front face of the second sheet. 4. Tuck the string lights behind the back sheet, not in front of any layer. 5. Turn off overhead lights. The string lights will glow through the paper gap and cast silhouette shadows forward.
Placing the light source behind the back panel rather than in front of the display creates a shadow-glow effect that no amount of front-facing fairy lights can replicate. This DIY Halloween backdrop works against any wall and costs under $15 in materials.
Candlelit DIY Halloween Entryway Styled With Warm-Bulb Flameless Tapers

Materials: Four to six flameless taper candles (warm amber bulb color, not cool white), a console table or entry shelf, one or two bare branches, two small pumpkins.
Steps: 1. Before styling anything, replace any cool-white bulbs in the entry area with warm-white equivalents ($6–$10 for a two-pack). This one step fixes most flat-light problems. 2. Group the flameless tapers in a loose cluster at uneven heights — use a small riser (a thick book or block) under two of them to stagger levels. 3. Lean one bare branch behind the candle group to cast a shadow up the wall. 4. Place two small pumpkins at the base, slightly off-center. 5. Turn off the overhead entry light when photographing or styling for maximum atmosphere.
A warm-toned DIY Halloween entryway styled this way costs under $30 total and takes about 20 minutes to arrange.
Tell #6: Halloween Decor That Sits Isolated From the Rest of Your Home
Decor that sits alone — a wreath on a blank door, a pumpkin on an empty floor — always reads as seasonal kit, not as part of a home. It looks placed, not lived-in.
The fix is integration: anchoring Halloween pieces to existing furniture, existing color stories, and existing display habits.
DIY Halloween Door Decorations Layered Into Your Home's Existing Palette

Materials: Existing wreath form or door hook (something already owned), dried stems or branches in your home's current color palette, ribbon in one tone that already appears in your entryway, floral wire.
Steps: 1. Start with a wreath form or hook you already have. Do not buy new. 2. Look at the colors in your entryway — the rug, the wall, the console. Pick one of those tones for the dried florals. 3. Wire small clusters of dried stems into the wreath form at irregular intervals, not in a full ring. 4. Tie a single length of ribbon at the top knot. The ribbon should match a tone already present in the entryway. 5. Remove any character-based add-ons — plastic witches, cartoon skulls — that conflict with the existing style.
The goal with DIY Halloween door decorations is not to announce "Halloween" — it is to make the seasonal layer feel like it grew from the space naturally. For a more dramatic door and porch treatment, Halloween Porch Decor: 16 Dramatic Outdoor Designs That Wow the Whole Street covers the larger-scale version.
DIY Styled Bookshelf Vignette

Materials: An existing bookshelf or shelf already holding books or objects, two or three small faux bats or a mini skull accent, one taper candle in a simple holder, a small scrap of black ribbon or dark fabric.
Steps: 1. Choose one shelf that's already in use — do not clear a shelf entirely to build this from scratch. 2. Tuck a small Halloween accent between or on top of existing books, rather than placing it in an empty foreground spot. 3. Drape a small scrap of dark fabric or ribbon loosely behind or under one object for texture. 4. Add a single taper candle at one end of the shelf, not centered. 5. Step back and remove anything that reads as "added" rather than "already there" — one Halloween note per shelf is the goal, not three.
One Halloween object tucked into a shelf that's already styled does more than five objects placed on an empty one — restraint is what makes it look integrated rather than seasonal.
Bonus Project: DIY Bat Silhouette Window Clings

This 13th idea takes under 10 minutes and costs almost nothing — it is the fastest single fix for a window that needs seasonal character.
Materials: Black cardstock, static-cling vinyl sheets ($5–$8 for an A4 pack), scissors or a craft knife, a printed bat template (or freehand cut).
Steps: 1. Print or draw a simple bat silhouette — a basic M-wing shape works. Cut several in two or three different sizes. 2. Trace each silhouette onto the matte side of the static-cling vinyl and cut out. 3. Press each bat onto the window glass. No tape, no adhesive residue. 4. Cluster them in a loose upward-flight pattern — larger bats lower, smaller ones higher, each at a different angle. 5. Remove cleanly at the end of the season by peeling from one corner.
Varying bat size and rotation angle is what makes the cluster read as a flight pattern rather than a row of stickers. These DIY Halloween bats work equally well on interior windows and exterior glass.
Frequently Asked Questions
What is the easiest way to make DIY Halloween decor look more expensive? Change the surface finish before anything else. A $2 can of matte spray paint over any glossy dollar-store item removes the single biggest "cheap" signal. Matte finishes absorb light rather than reflecting it, which immediately reads as more considered.
How do I make homemade Halloween decorations fit my home's existing style? Start with your home's current color palette rather than the traditional Halloween colors. If your rooms run warm and earthy, pull rust, bone, and charcoal into your decorations instead of orange and purple. One shared tone between your existing decor and your Halloween pieces is all the visual bridge you need.
Can I make a DIY Halloween chandelier without any experience in crafts? Yes. The wire hoop version described above requires only hot glue and basic knotting — no soldering, no power tools. The only technique that needs attention is the dry-brushing step, which takes about two minutes of practice on a scrap piece to get right.
How much does it cost to make elevated DIY Halloween decor for a whole room? Most of the projects above run under $15 each in materials, and several — the bookshelf vignette, the bat window clings — cost close to nothing if you're using items already in the house. Styling four or five of these across one room typically lands between $40 and $70 total, well under the cost of comparable store-bought "elevated" Halloween decor.
If these projects are sitting in your saved folder by tonight, pin this page now so the materials lists are there when you need them — every one of these diy halloween crafts is written to be opened on your phone at the craft store, materials list and all, so there's no second trip back for something you forgot.
Comments